


Choosing the Right Anchor Depth for Excavation Face Work
Not all ground behaves the same — especially on sloping sites where soil layers can change quickly across a single excavation face. What looks stable at the surface can give way once you start cutting deeper, and that’s where anchor choice starts to matter.
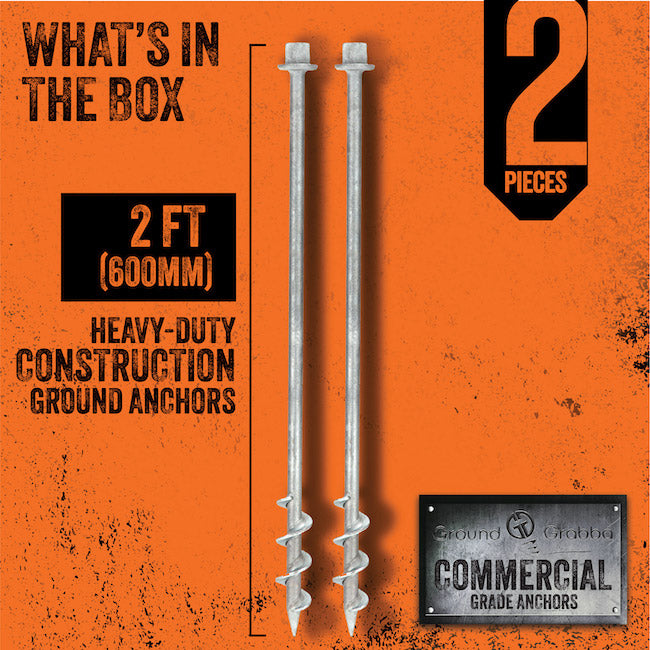
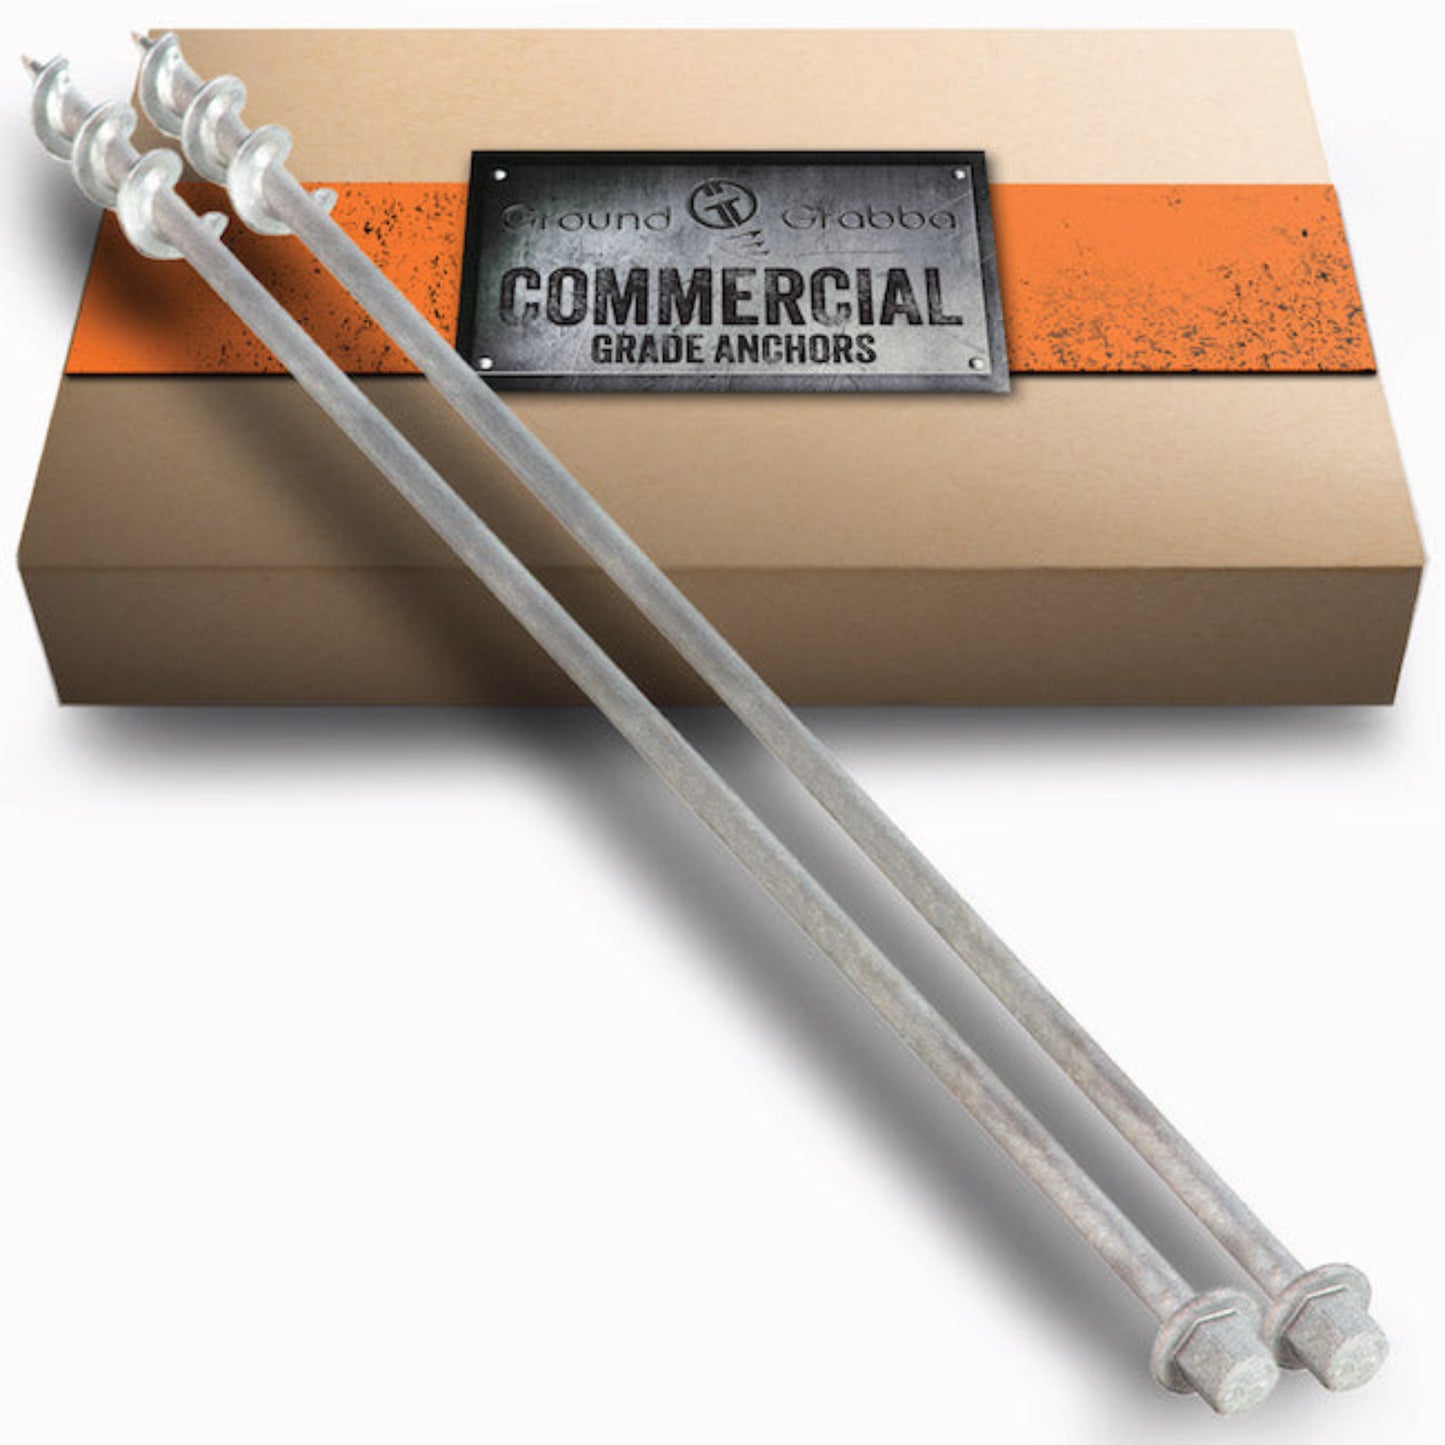
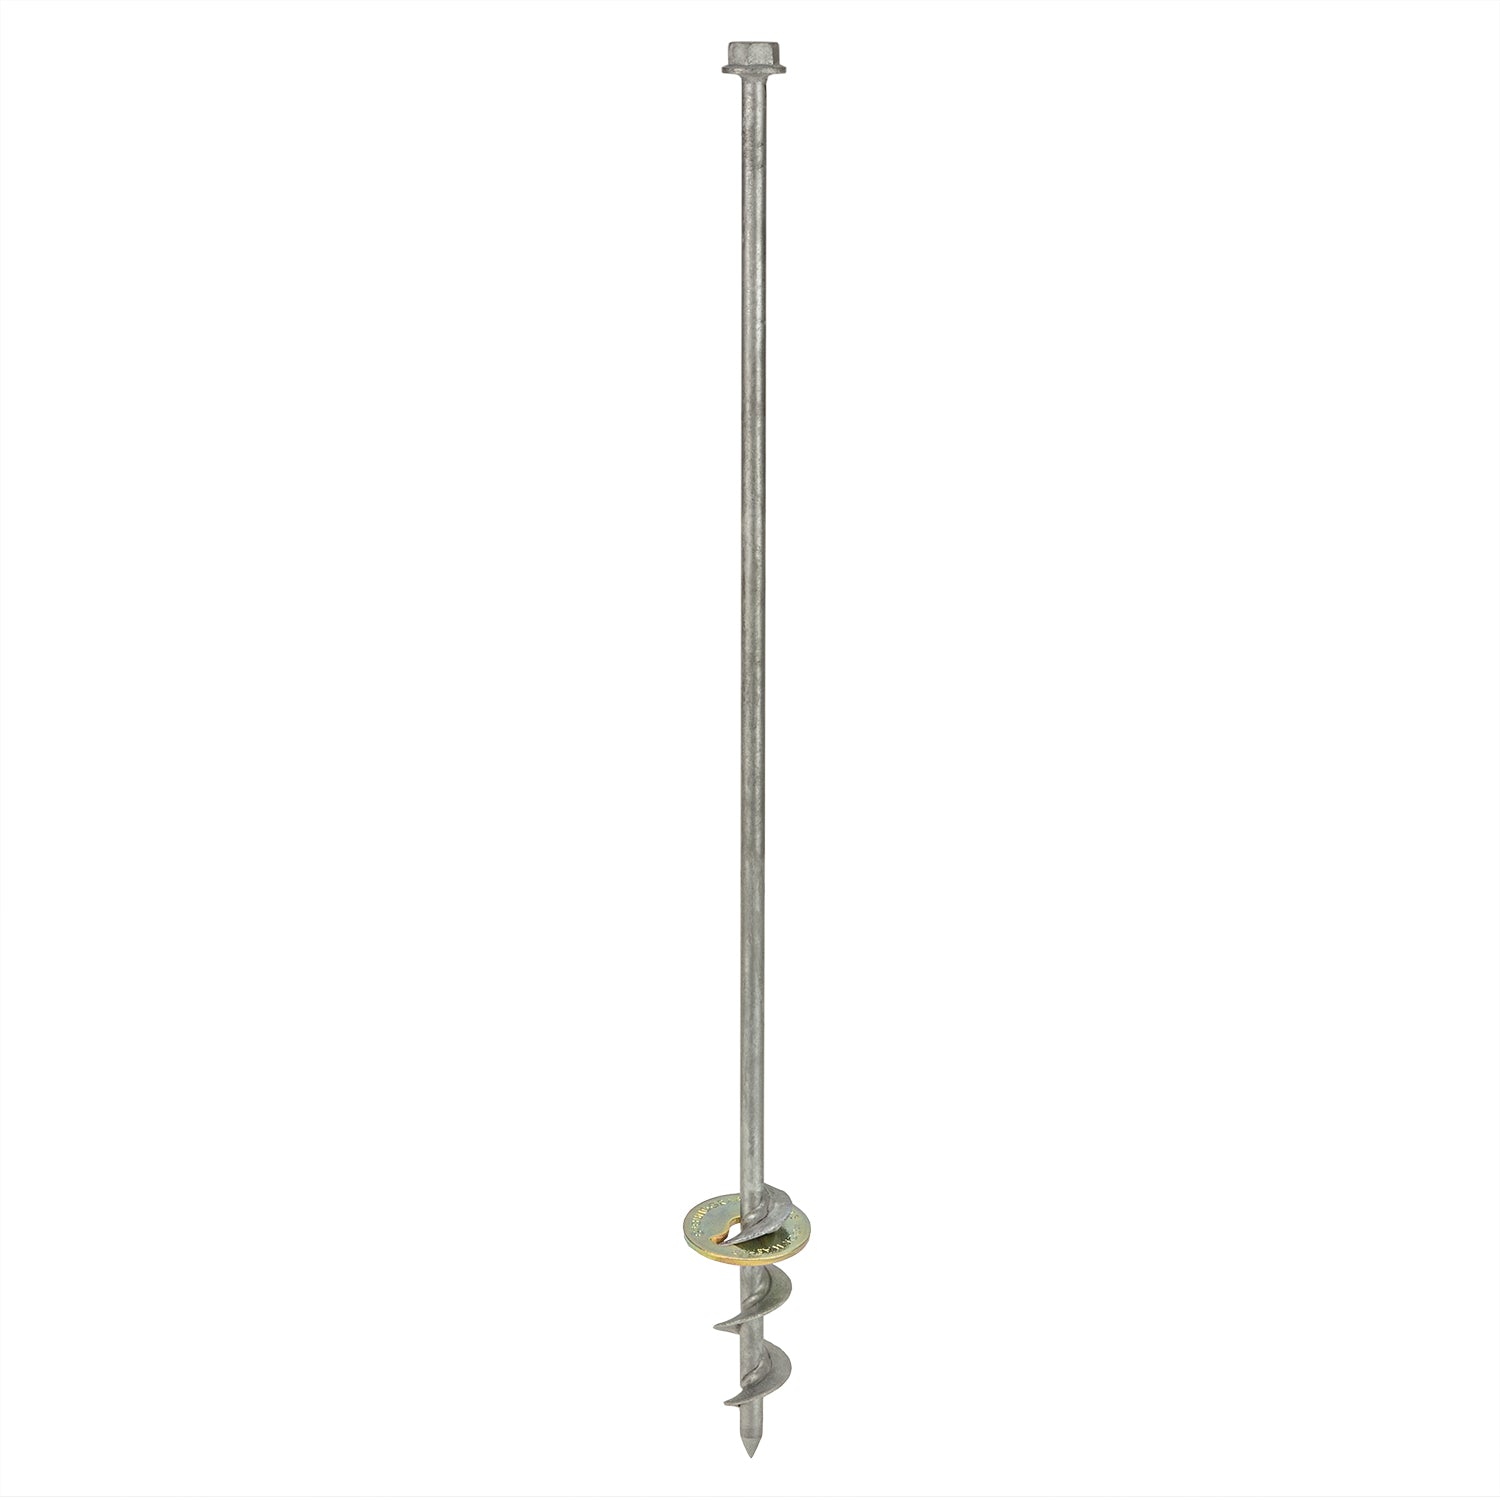
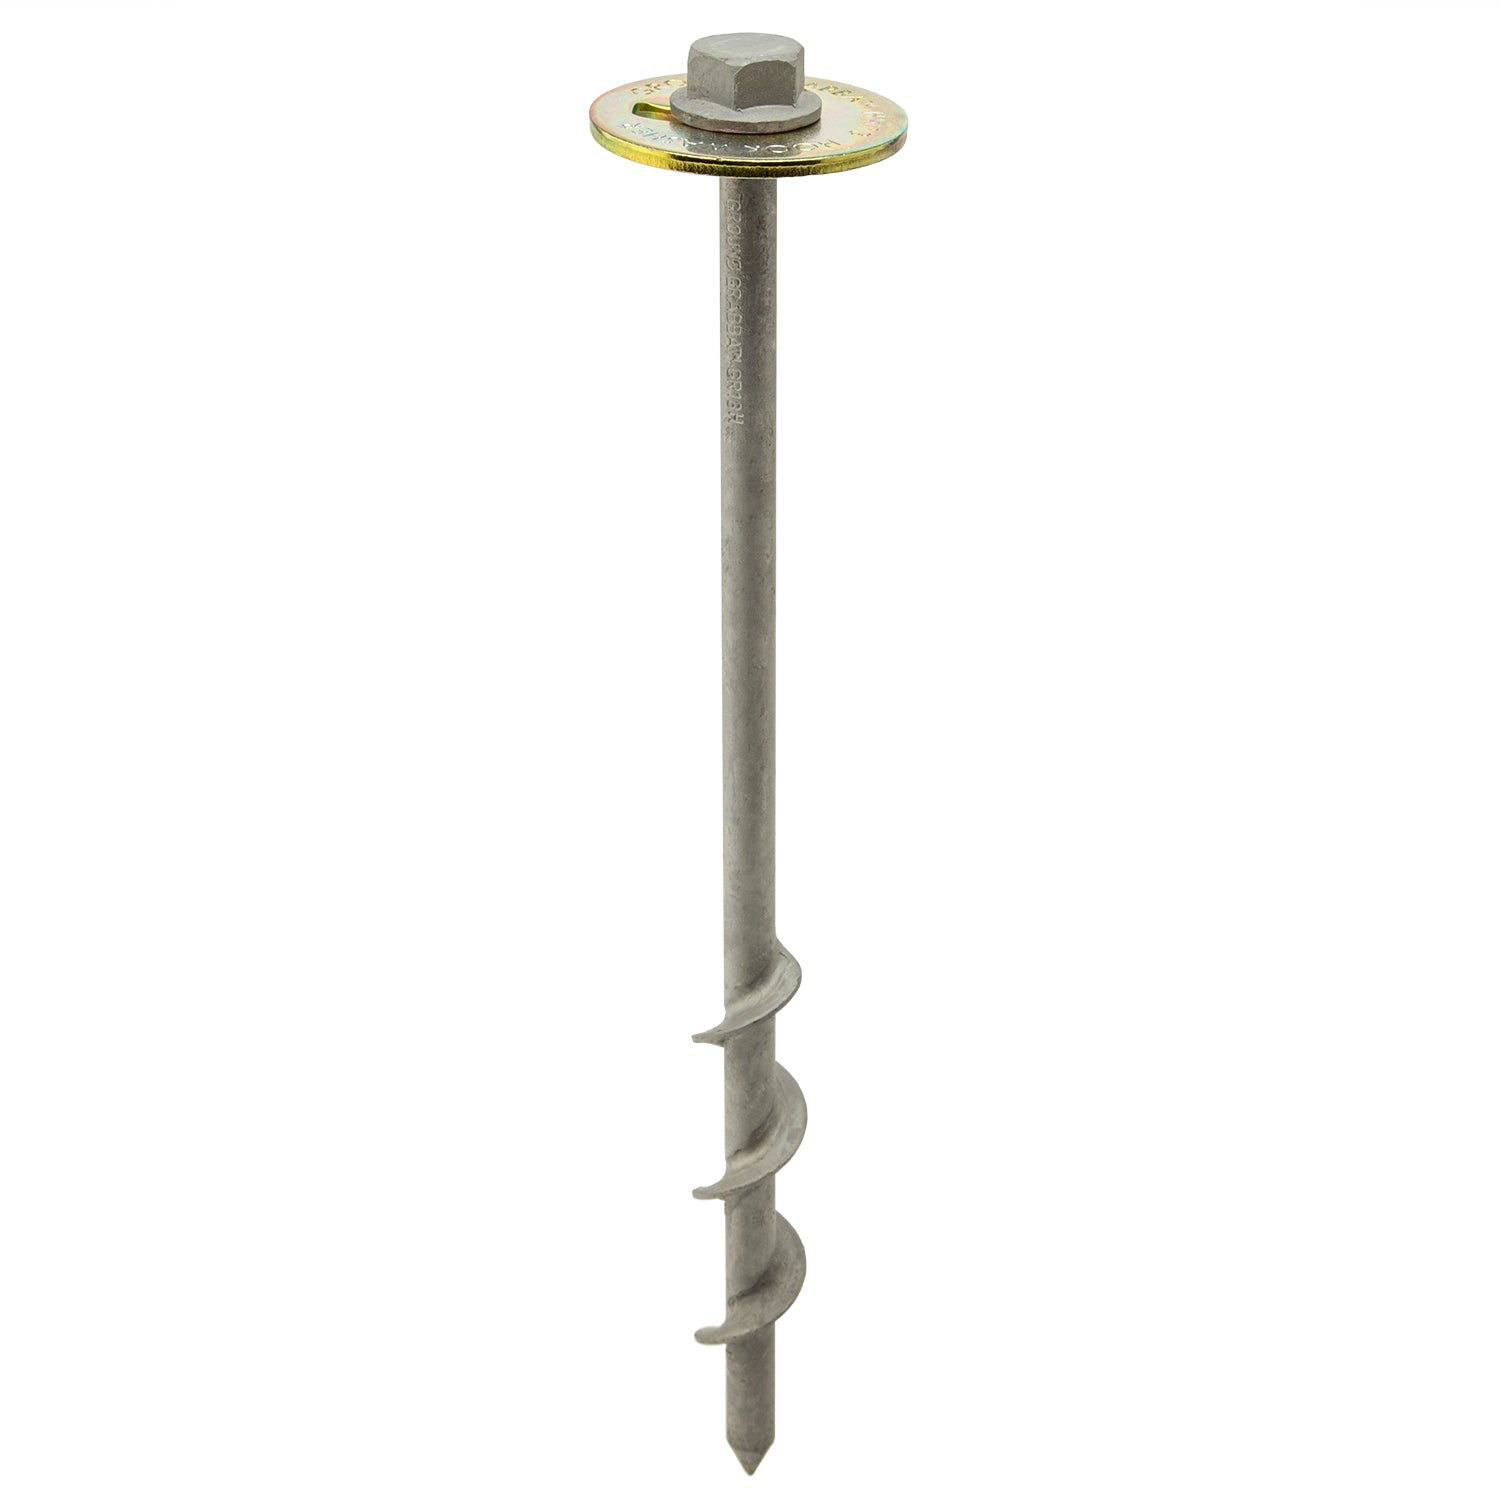
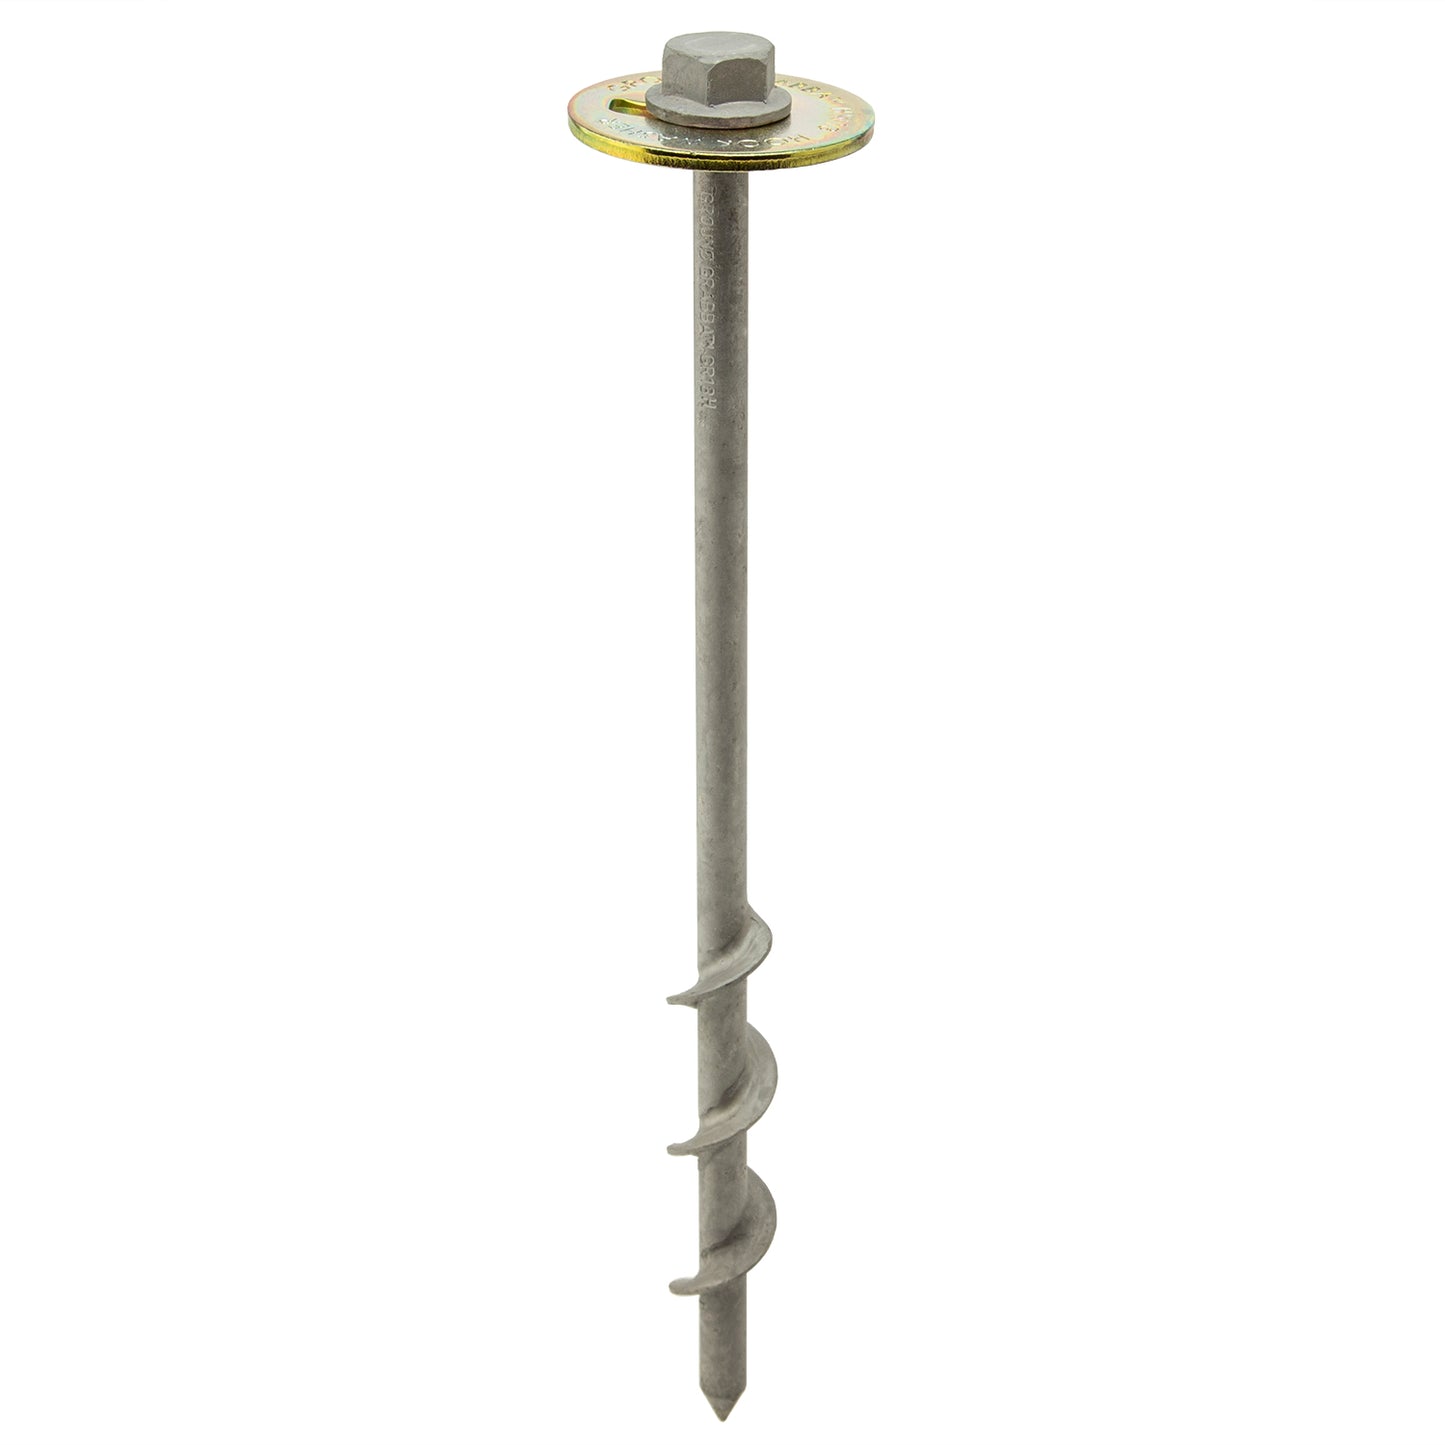
The 600mm GroundGrabba Commercial Pro I is suited to firmer, more stable sections where the mesh simply needs to be held in position before shotcrete. It gives consistent holding power without overdriving depth where it’s not required. As conditions change, particularly where the substrate becomes softer, wetter, or starts to move, the 900mm Commercial Pro II gives the extra embedment needed to reach more stable ground below. That deeper engagement is what delivers higher pull-out resistance when the face becomes unpredictable.
💡 Pro Tip: On most jobs, builders don’t rely on one size. They use 600mm anchors where the ground is holding, and step up to 900mm wherever the face looks questionable or starts to move.

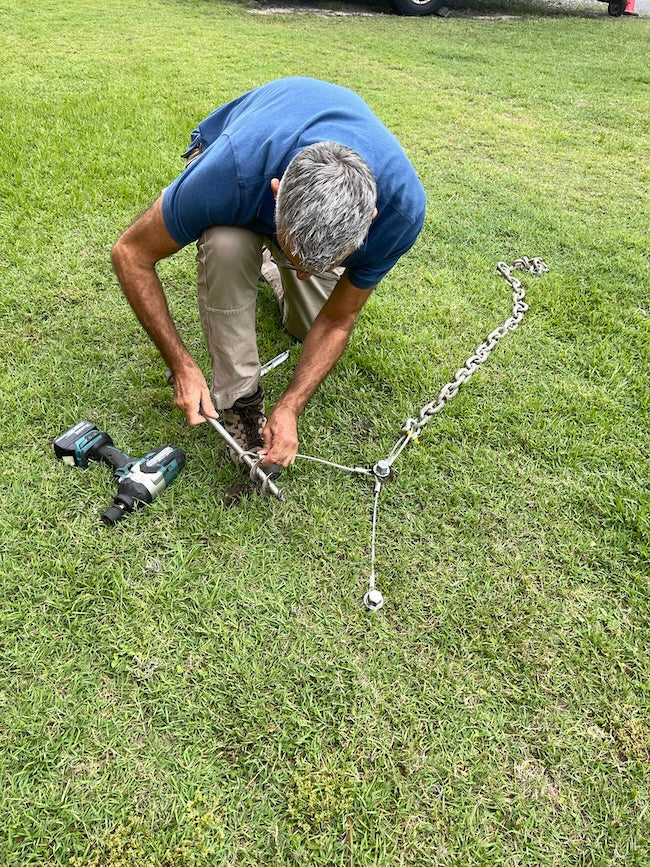
One important difference from a standard installation on this job was that the anchors were driven horizontally into the cut face while working from a ladder. Without the ability to put body weight behind the impact wrench, the tool can run too fast relative to resistance. Instead of biting, the anchor can churn the substrate and lose its holding ability. Pilot holes made a significant difference here. By pre-drilling where required, the flights had something to engage from the first revolution, which slowed the rotation naturally and allowed the anchor to draw itself in cleanly.
When the anchor was biting properly, it was obvious. The RPM dropped, resistance built, and the anchor pulled itself into the face rather than spinning freely. On the 900mm anchors especially, the final section often bit hardest as the flights reached denser, less disturbed ground deeper in the face.
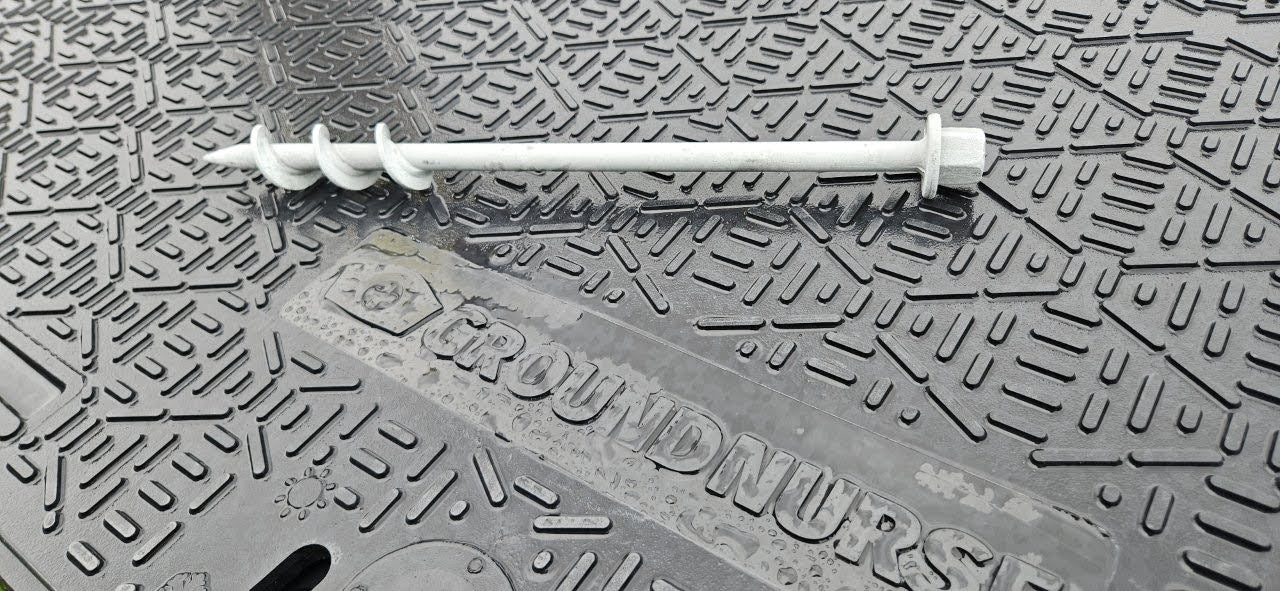
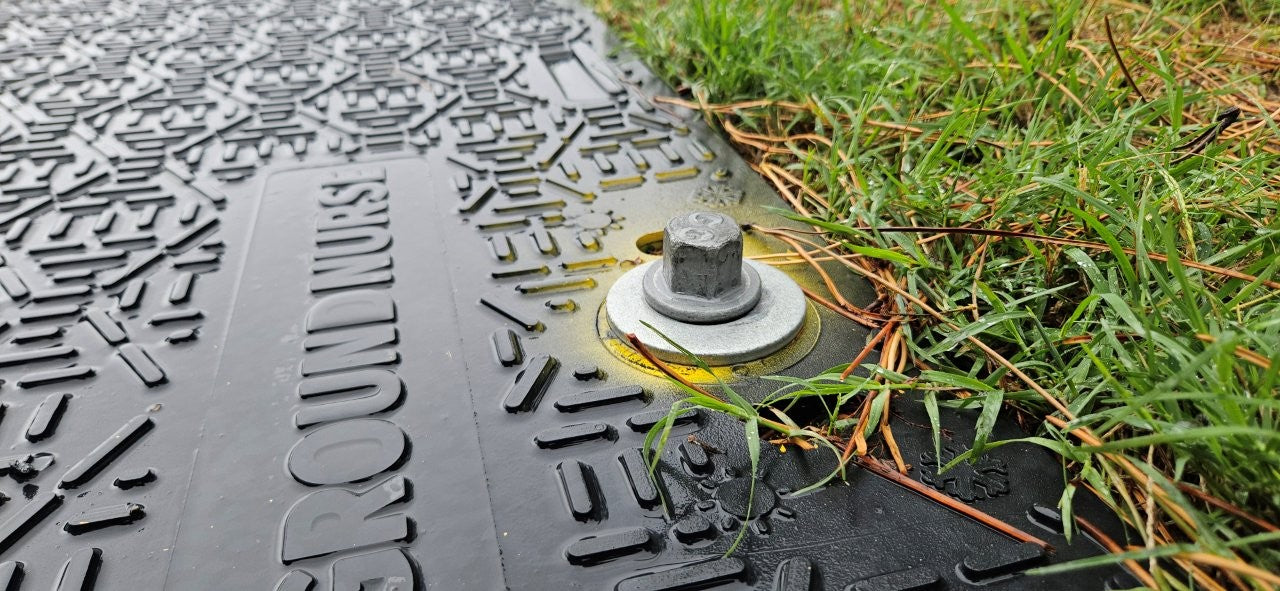
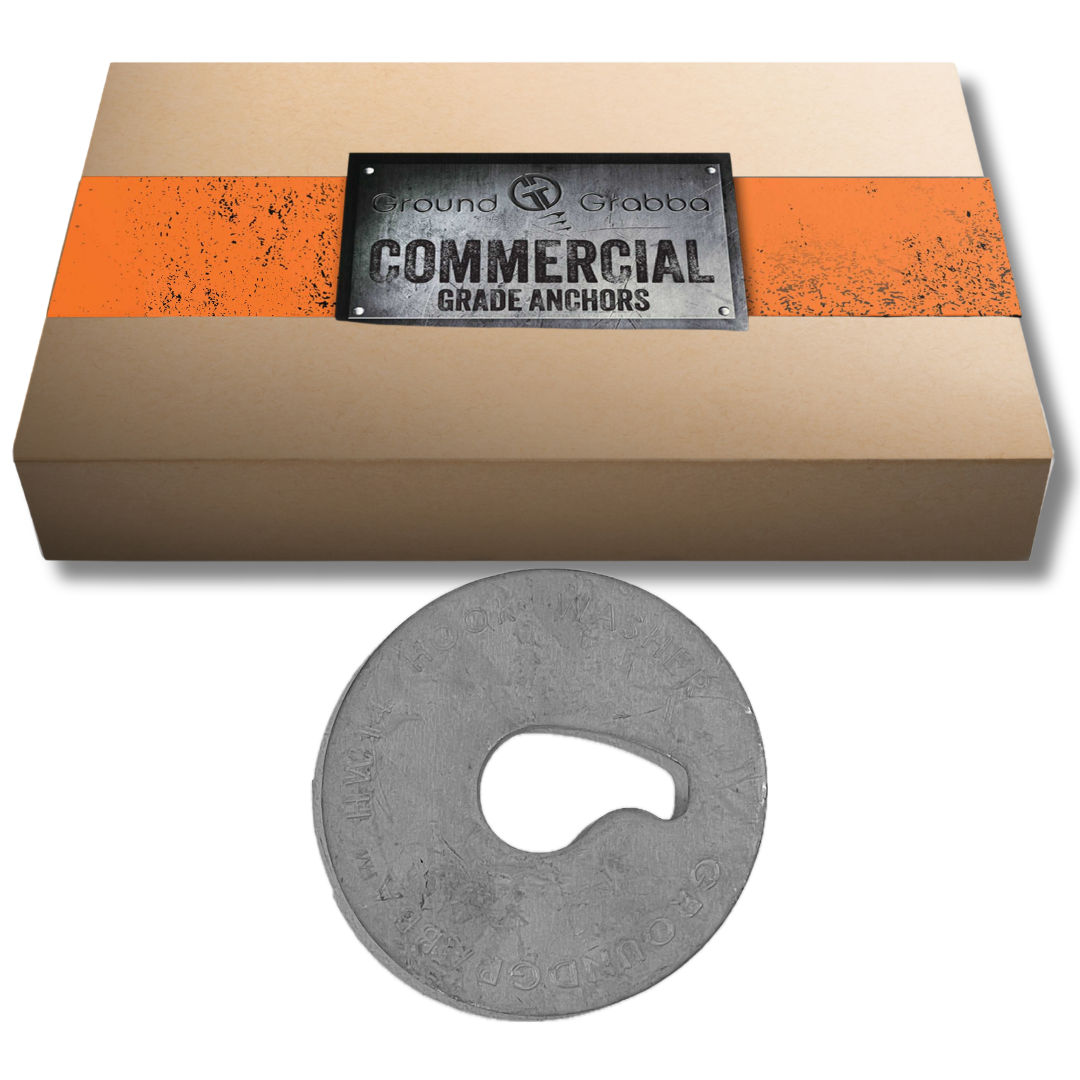
The HW14 HookWasher played a critical role in holding the system together. Before driving, the washer is threaded onto the anchor by feeding the point through the centre hole and aligning the flight with the slot, then winding it through until it clears and slides freely along the shaft. Once installed, the washer sits over the mesh and spreads load across multiple wire points, keeping the reinforcement tight against uneven or crumbling surfaces and preventing pull-through.
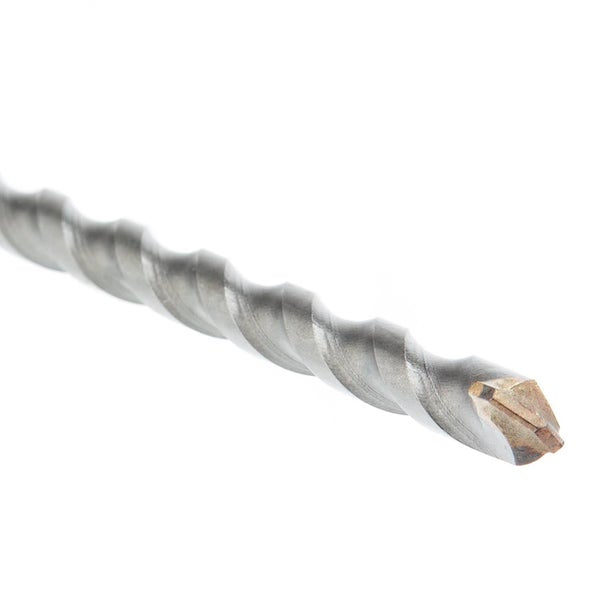
In harder sections of the face, pilot holes were drilled using a rotary hammer and a long SDS masonry bit. When drilling into earth or mixed substrate, debris builds quickly and needs to be cleared frequently to avoid stalling or overheating the tool. A rotary hammer handles this far more effectively than a standard cordless drill, especially when working to depth.
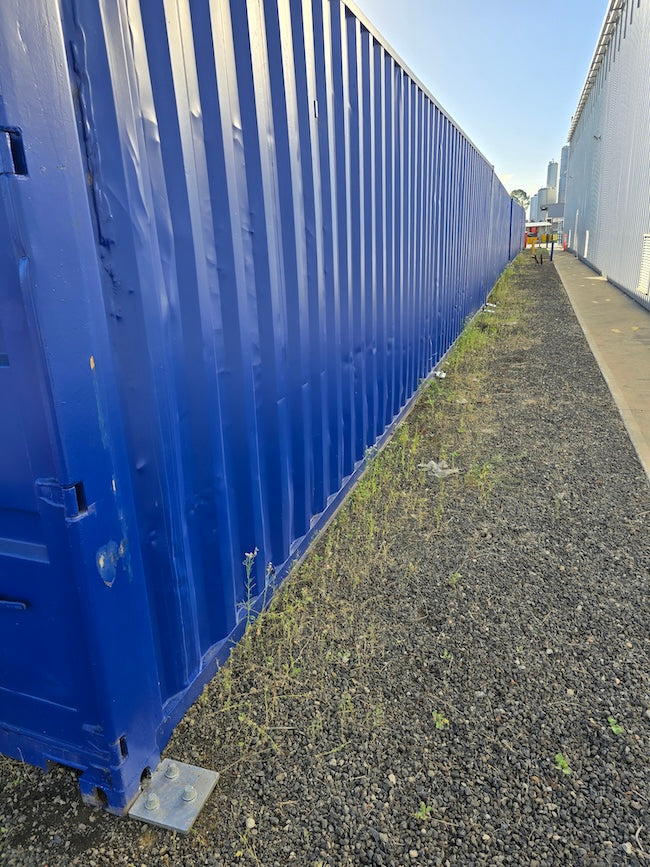
The installation process itself followed a simple, practical sequence. The face was first assessed to identify unstable sections before positioning full sheets of mesh wherever possible. A single anchor was used to tack each panel in place, allowing adjustment before fully securing it. From there, anchors were installed across the sheet wherever the mesh needed to be held tight, typically along the top and bottom edges and then through the centre. Adjacent panels were overlapped to maintain continuity, and the entire surface was checked for movement before shotcrete was applied. Any areas that felt loose were reinforced before spraying, as once the shotcrete goes on, adjustments are no longer possible.
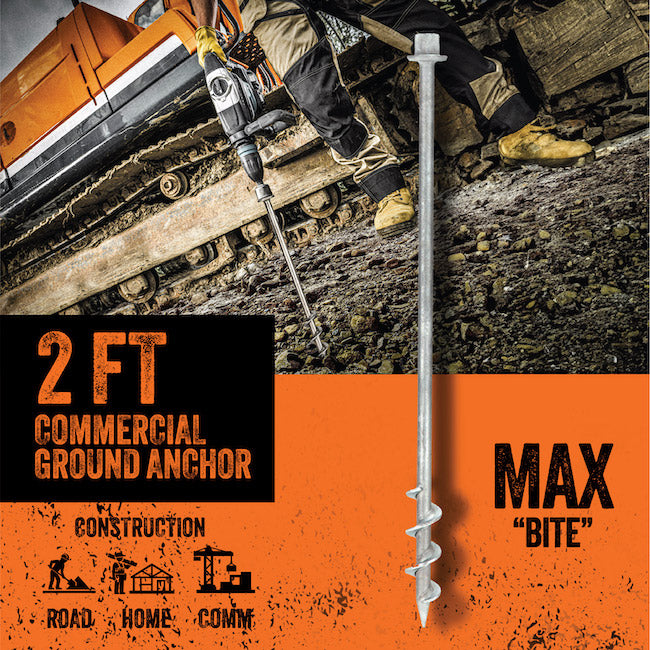
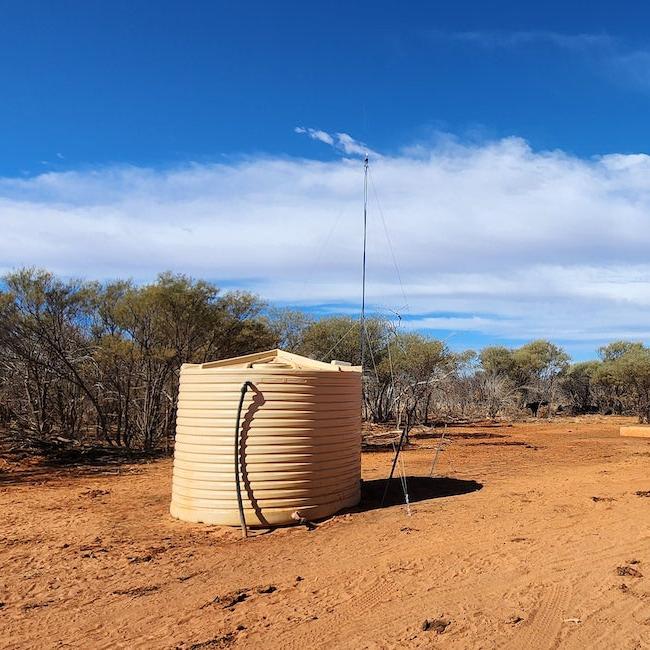
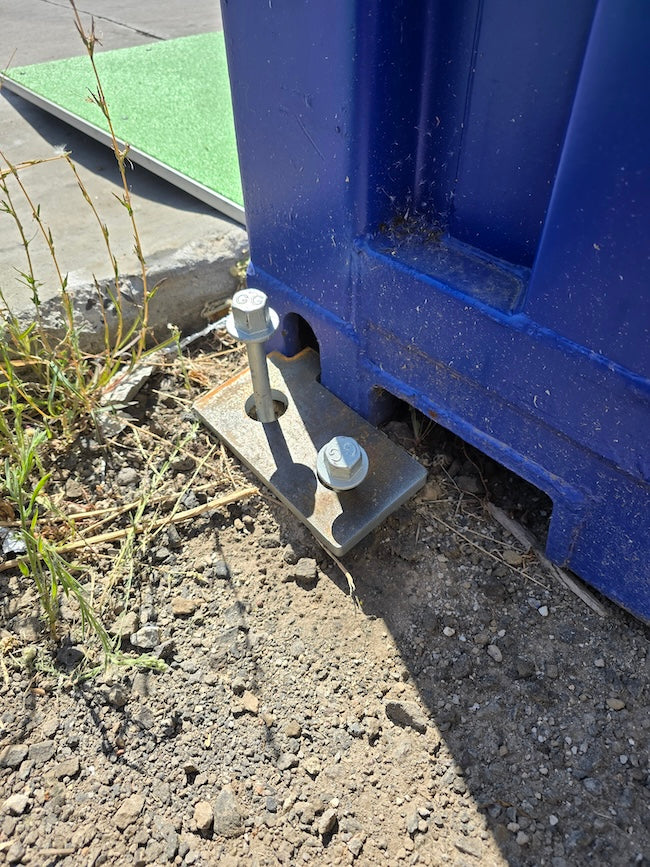
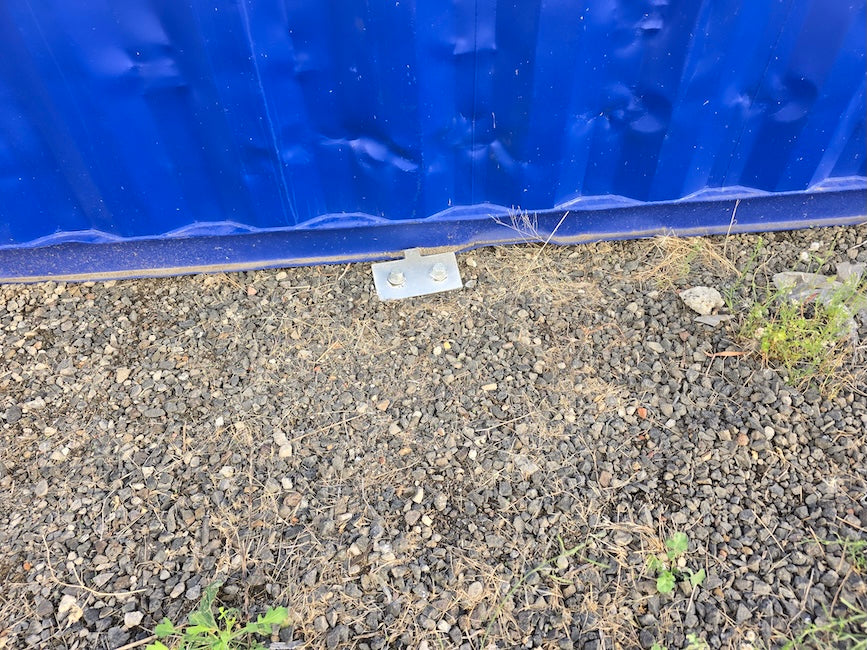
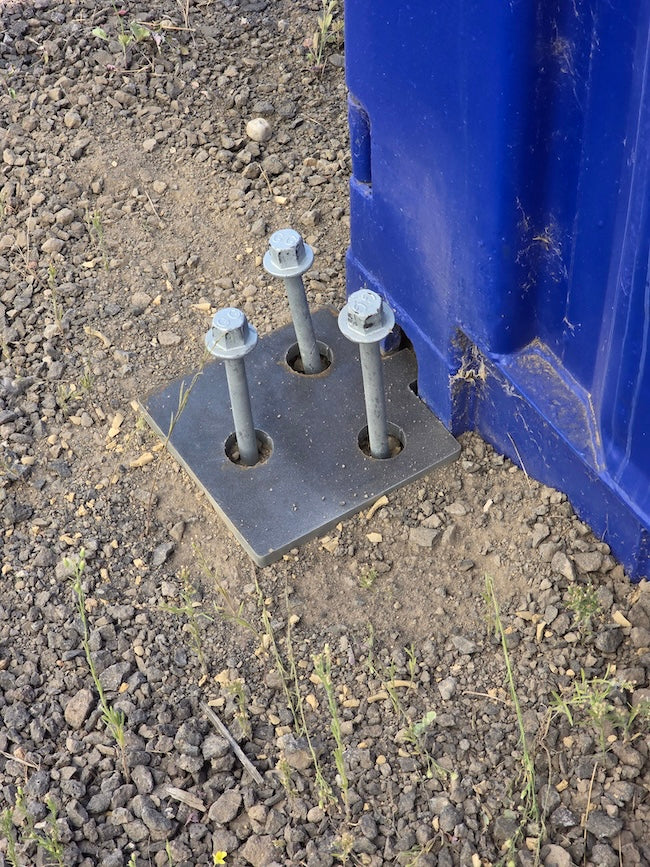
Builders are increasingly using the GR14 Commercial range in situations like this because it provides a fast, tool-driven anchoring method that can be applied immediately on-site. Originally developed for anchoring structures like site sheds and portable buildings, the same principle applies here — a reliable pull-out anchor that can be installed vertically, horizontally, or at an angle depending on the job. Combined with proper load distribution and the ability to adapt to changing ground conditions, it becomes a practical solution when time and control matter.
Every excavation site is different, and conditions can vary significantly even within the same cut. Soil type, moisture content, surcharge loads from nearby structures, and overall site geometry all influence stability. This example reflects one builder’s approach on a specific site, and while the method is practical, it should not replace proper engineering assessment where required. GroundGrabba anchors provide pull-out resistance to hold materials in place — they are not structural shoring systems or engineered soil nails. For complex or high-risk excavations, always consult a qualified geotechnical or structural engineer before proceeding.

Frequently Asked Questions
Can these anchors be used horizontally into a vertical face?
Yes. The screw-in design works in any orientation, but horizontal installation requires more control. Start slowly and ensure the anchor is biting rather than spinning. If it churns, stop and reassess.
What mesh size should be used?
25 x 25mm welded mesh works well as it allows the anchor shaft to pass through cleanly. Smaller apertures may prevent proper installation.
Do I need an engineer for this type of work?
For excavations near structures, at depth, or on steep terrain, engineering advice is recommended. This is a practical method, not a substitute for design.
Can the anchors be removed later?
If not encapsulated in shotcrete, they can be removed using a high-torque impact wrench. Avoid using a standard drill under load, as torque can transfer directly to the wrist.
When should I use 600mm vs 900mm?
Use 600mm in stable ground. Step up to 900mm when the substrate is softer, variable, or already starting to move.